Want to learn more about surgical guide planning?
Discover how digital workflows can improve your implant success rates.
Table of Contents
- Introduction
- Tip #1: Start with Prosthetic Planning
- Tip #2: Optimize Posterior Implant Angulation
- Tip #3: Consider Guide Fixation Carefully
- Tip #4: Plan for the Extraction Phase
- Tip #5: Verify with Cross-Sectional Analysis
- Conclusion
- How to Choose the Right Implant Positions for All-on-4
- Common Planning Mistakes to Avoid
- Digital Planning vs Traditional All-on-4 Approaches
- How to Choose the Right Implant Positions for All-on-4
- Common Planning Mistakes to Avoid
- Digital Planning vs Traditional All-on-4 Approaches
Introduction
The All-on-4 treatment concept has revolutionized full-arch rehabilitation, offering patients a
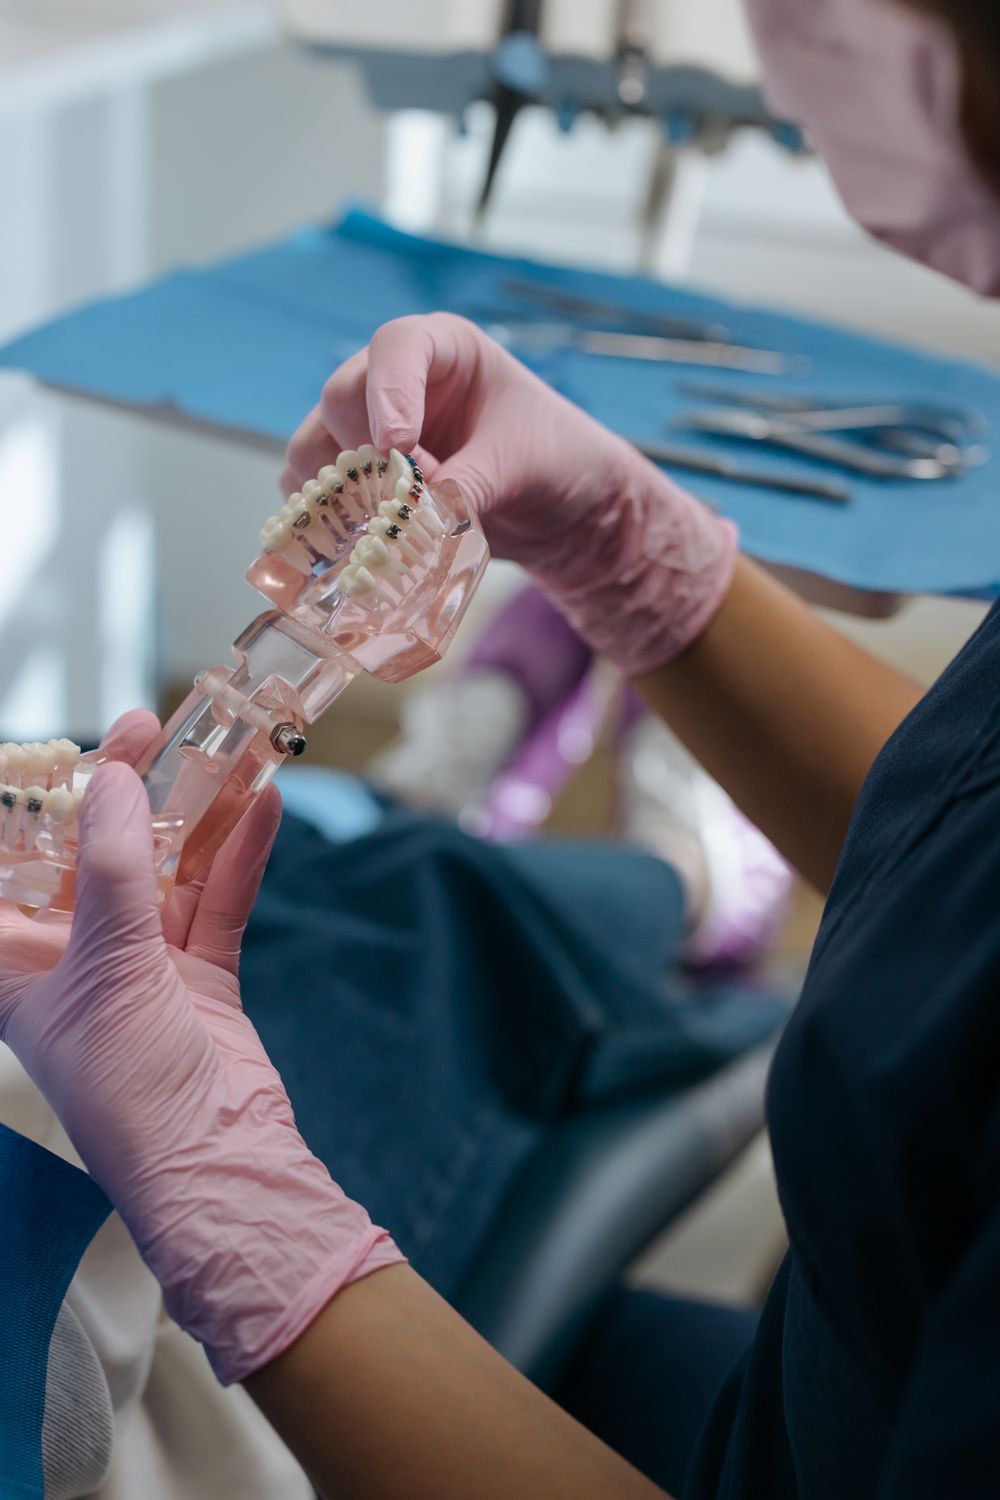
A full-arch implant rehabilitation protocol where 4-6 implants support a complete fixed prosthesis. It allows immediate loading, meaning patients receive teeth on the same day as surgery.
predictable solution with fewer implants and often avoiding bone grafting procedures. However,
successful outcomes depend heavily on precise surgical guide design. Here are five essential tips
A 3D-printed template that fits over the patient's teeth or tissue and directs drill placement during implant surgery. It transfers the digital treatment plan into precise physical drill positions.
I've learned from designing hundreds of All-on-4 guides.
Tip #1: Start with Prosthetic Planning
The most common mistake in All-on-4 planning is starting with implant positions rather than the final
prosthesis. Always begin by designing the ideal tooth setup ” this determines where the screw
access
channels should emerge and guides the implant angulation.
> Key Point: Screw access should ideally emerge through the occlusal surface of posterior teeth and cingulum
area of anterior teeth.
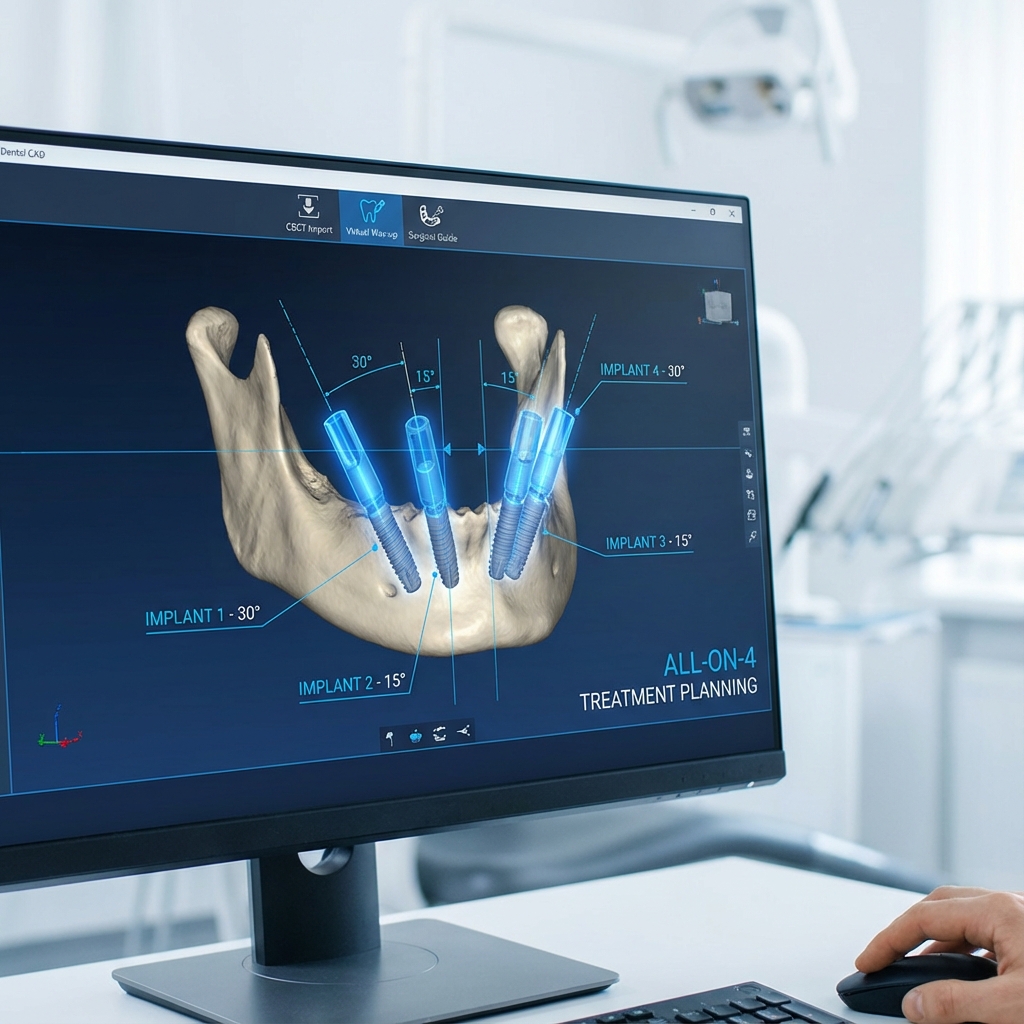
Tip #2: Optimize Posterior Implant Angulation
The posterior implants in All-on-4 are typically tilted 30-45 degrees to avoid anatomical structures
(maxillary sinus, mandibular nerve) while maximizing anterior-posterior spread. Key considerations:
- Maxilla: Tilt posteriors to emerge anterior to the sinus
- Mandible: Tilt to stay anterior to the mental foramen
- Aim for 10-12mm A-P spread minimum
- Ensure adequate bone density at tilted positions
Tip #3: Consider Guide Fixation Carefully
All-on-4 guides are typically tissue-supported, which means stability is crucial. Always plan for
fixation pins:
- Minimum 3-4 fixation pins for full arch
- Place pins in areas of adequate bone
- Avoid interference with planned implant positions
- Consider palatal placement for upper arch
Tip #4: Plan for the Extraction Phase
Many All-on-4 cases involve immediate extractions. Your workflow should account for:
- Pre-extraction scanning (if teeth present)
- Extraction guide or markings if needed
- Socket debridement space in guide design
- Potential use of stackable guide systems
Tip #5: Verify with Cross-Sectional Analysis
Before finalizing any All-on-4 plan, verify each implant position in cross-sectional views:
- Check bone width at platform and apex
- Confirm 2mm safety margin from vital structures
- Verify emergence through planning prosthesis
- Assess inter-implant distances
Conclusion
Successful All-on-4 treatment requires meticulous planning that balances surgical and prosthetic
requirements. By following these five tips, you can achieve predictable outcomes and satisfied
patients. Remember, when in doubt, don't hesitate to consult with colleagues or seek professional
planning assistance.
All-on-4
Full-Arch
Surgical Guide
Ready to streamline your surgical guide workflow?
Join 200+ dental professionals who trust SurgicalGuide.Pro for precision planning.