Want to learn more about surgical guide planning?
Discover how digital workflows can improve your implant success rates.
Table of Contents
- What Makes CAMLOG Different for Guide Design
- CAMLOG Lines We Support
- CONELOG PROGRESSIVE-LINE
- CAMLOG PROGRESSIVE-LINE
- CONELOG and CAMLOG SCREW-LINE
- iSy
- CERALOG
- How We Design Guides for CAMLOG (Step by Step)
- Step 1: Upload and System Selection
- Step 2: Anatomical Mapping
- Step 3: Prosthetic-Driven Placement
- Step 4: Guide Engineering
- Step 5: Interactive Review
- Step 6: Delivery
- The Manufacturer's Route vs. Independent Design
- Real Talk: When CAMLOG Guides Get Complicated
- Mixed Lines in One Arch
- Underpreparation Decided in Theatre
- The 5.0 Sleeve With No 5.0 Guided Implant
- Limited Interocclusal Space
- Pricing
CAMLOG & CONELOG Surgical Guide: PROGRESSIVE-LINE and SCREW-LINE Design
A surgical guide for a CAMLOG case costs €80 per jaw and takes 48 hours. The detail that decides whether it works is narrower than with most systems: the CAMLOG guiding sleeve is tied to the implant line, not just to the diameter. A sleeve for PROGRESSIVE-LINE will not do for SCREW-LINE, and an order that names only "CAMLOG 4.3" has not told us enough to design anything. Here is how we handle the range, line by line.
A 3D-printed template that fits over the patient's teeth or tissue and directs drill placement during implant surgery. It transfers the digital treatment plan into precise physical drill positions.
What Makes CAMLOG Different for Guide Design
Most systems let you pick a sleeve by diameter. The CAMLOG Guide System does not work that way. The catalogue is explicit about it — the guiding sleeve for PROGRESSIVE-LINE is listed as compatible only with PROGRESSIVE-LINE implants, and it comes in 3.3, 3.8, 4.3 and 5.0 mm, in titanium alloy, single-use and non-sterile.
So the sleeve specification needs two facts from you, not one: which system (CAMLOG or CONELOG) and which line (PROGRESSIVE-LINE or SCREW-LINE). The diameter alone is not enough, and this is the single most common omission on a CAMLOG order.
The second consideration is the drill protocol. CAMLOG arranges its guided drills by surgical protocol and colour-codes them by implant diameter, with separate drill sets for PROGRESSIVE-LINE and SCREW-LINE. That means two implants of the same nominal diameter can need a different sleeve height, because the sequence that reaches the final osteotomy is different.
Third, and specific to this system: underpreparation is an option, not a default. For the 3.8 and 4.3 PROGRESSIVE-LINE implants you can choose a reduced final drill to gain primary stability in soft bone. That is a clinical decision, and it changes the plan. If you intend to underprepare, say so on the order — we design to the protocol you will actually run in theatre, not to the standard one.
The mechanical resistance of an implant immediately after insertion. It is determined by bone density and implant design, and is critical for immediate loading protocols.
CAMLOG Lines We Support
CONELOG PROGRESSIVE-LINE
The conical connection with integrated platform switching, on the tapered body. This is the combination we see most in guided anterior and aesthetic work, because the connection is forgiving prosthetically and the taper gives stability where the bone is soft.
For guide design, the taper is the thing to respect. A tapered implant follows the osteotomy it is given rather than correcting it, so the guide has to hold the drill on axis through the full depth. Subcrestal placement is common with this line, and the sleeve stop has to reflect the depth you actually intend rather than a generic crestal reference.
CAMLOG PROGRESSIVE-LINE
Same tapered body, but with the Tube-in-Tube connection and its clear indexing. Prosthetically simpler, surgically identical in what the guide has to do.
Worth stating on the order even when the diameter is the same as a CONELOG case: the guided components differ, and so does the insertion post.
CONELOG and CAMLOG SCREW-LINE
The established cylindrical line, guided in 3.3, 3.8 and 4.3 mm. More forgiving in dense bone and generally the most straightforward of the range to plan, because depth control comes from the sleeve stop rather than from the geometry of the implant.
SCREW-LINE takes its own guided drill set and its own sleeves. This is exactly where mixed-line cases go wrong on paper: two sites, same diameter, different sleeves.
iSy
The reduced-component system with a lean drilling protocol. If your case is an iSy case, name it explicitly rather than writing "CAMLOG" — the component set and the sequence are not the same, and we will confirm the guided configuration with you before designing rather than assume it.
CERALOG
The two-piece zirconia implant. Ceramic cases carry their own handling constraints, and we will tell you plainly if a guided approach is appropriate for the site rather than designing something that looks correct on screen.
How We Design Guides for CAMLOG (Step by Step)
Step 1: Upload and System Selection
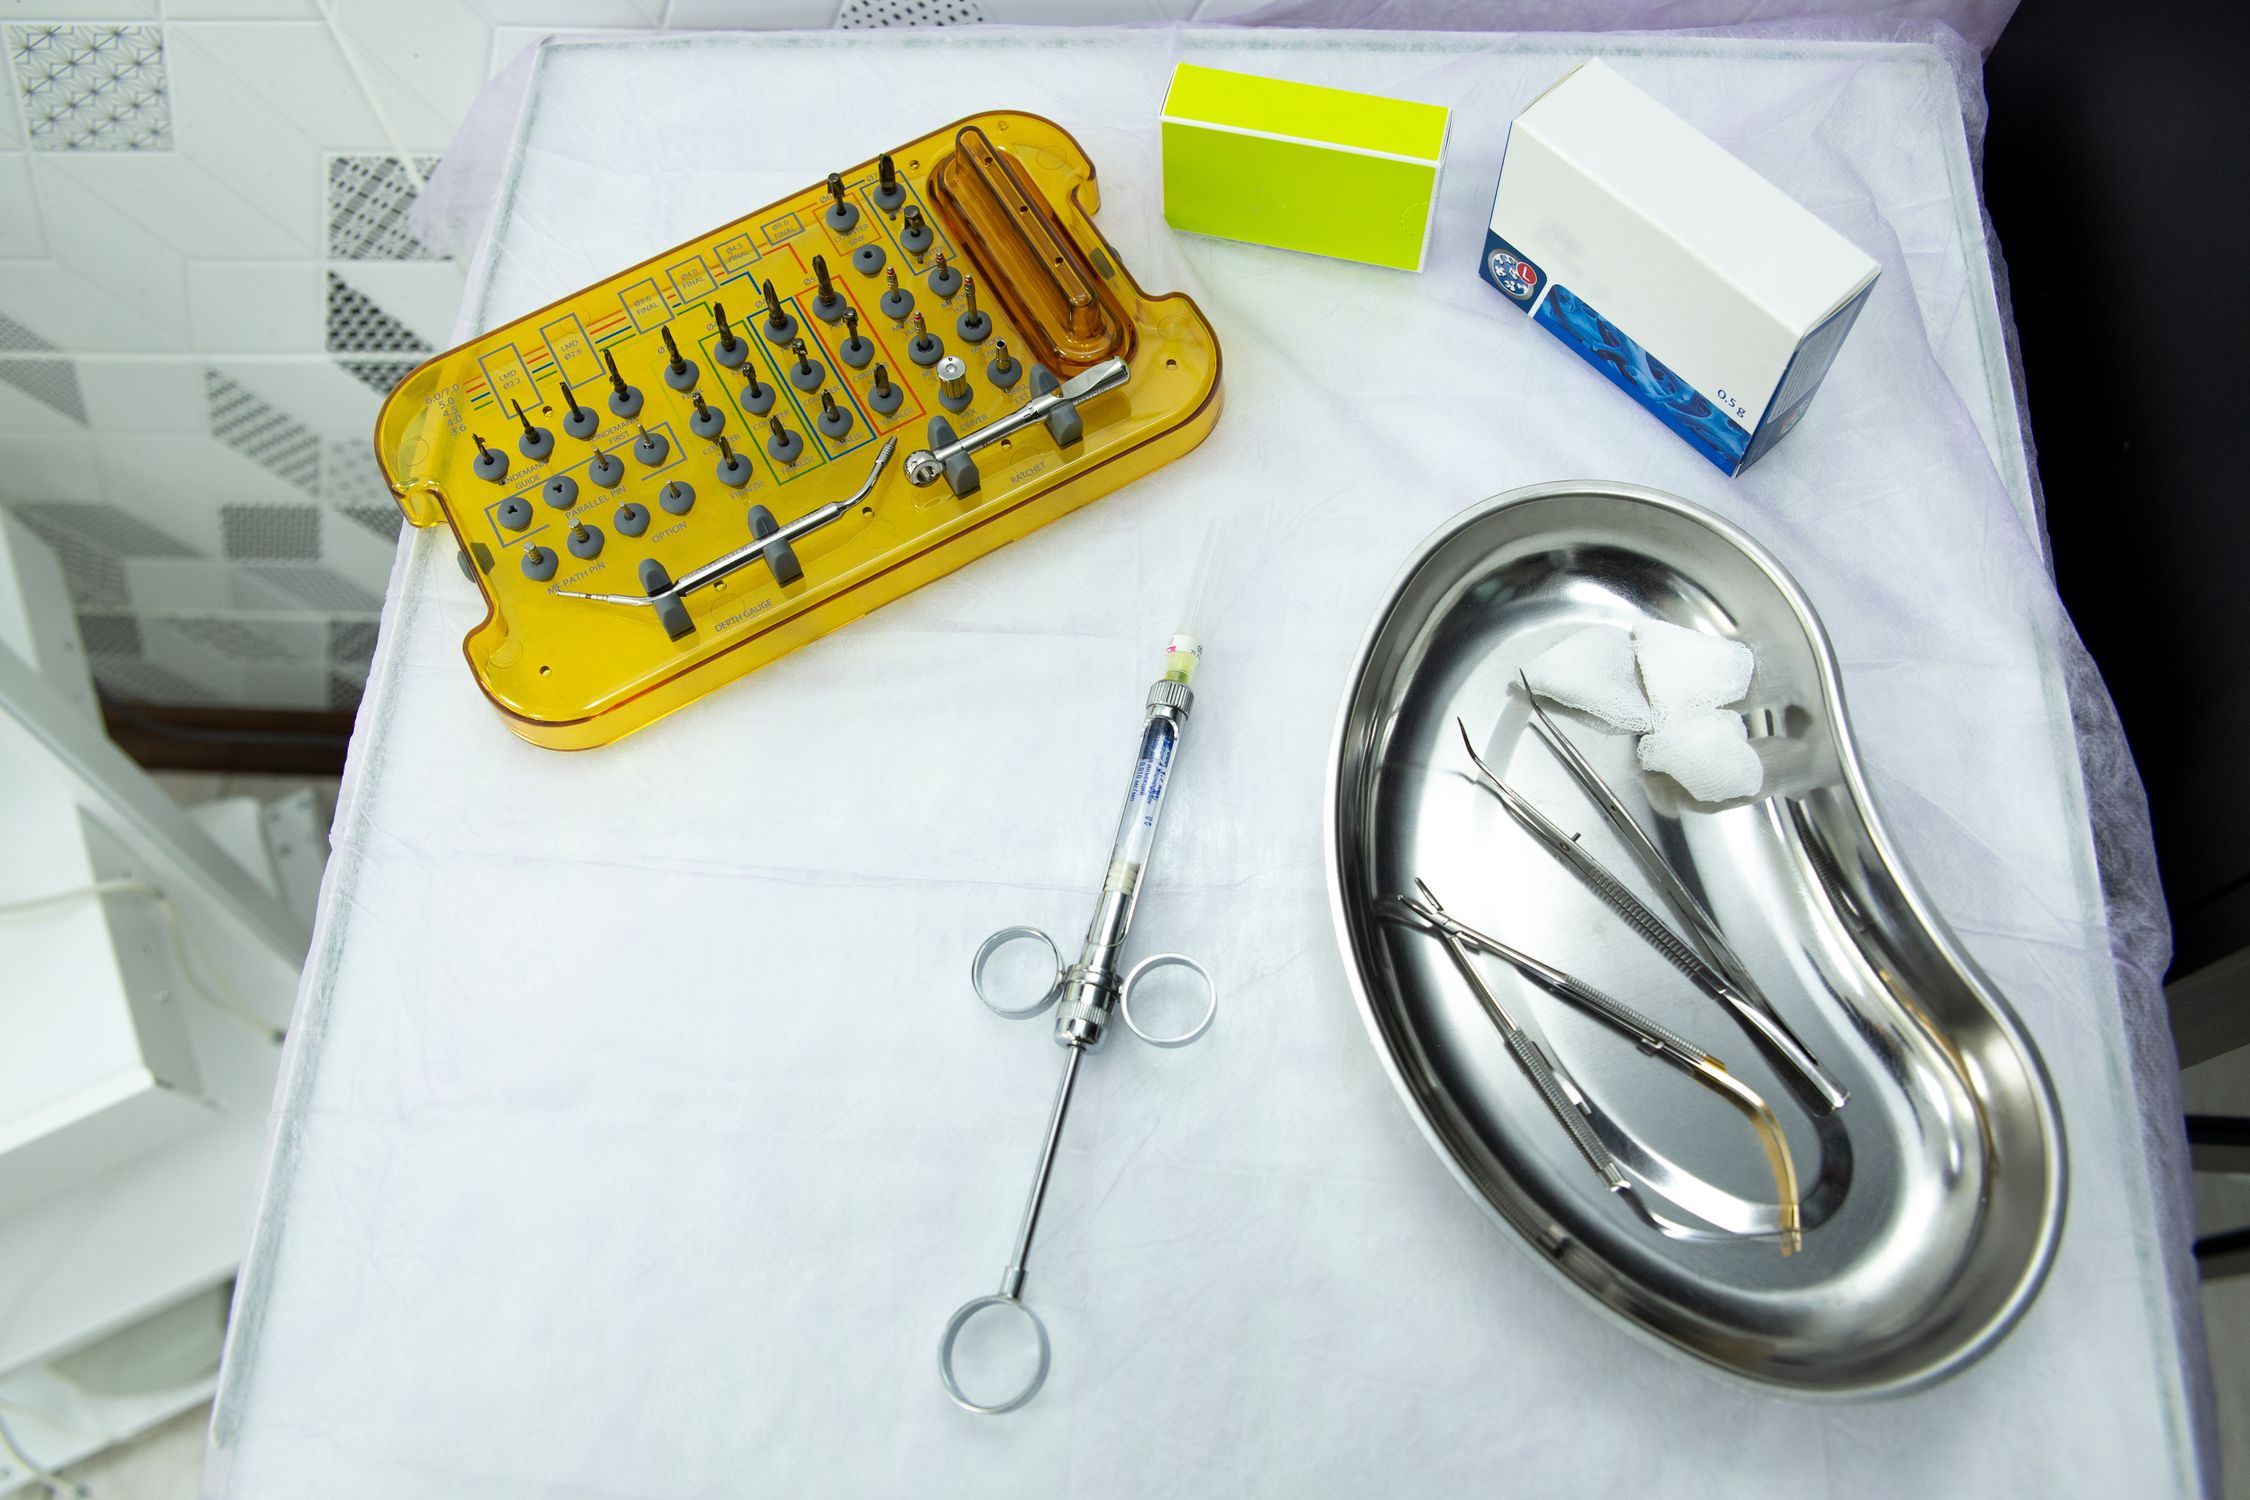
You upload the CBCT as a DICOM series and the intraoral scan as STL, PLY or OBJ, then name the system, the line, the diameter and the guided kit. If you are not certain which generation of the Guide System tray you have, photograph it — reading it from a photo is faster and less error-prone than a written description.
A 3D surface mesh file format used in dental CAD/CAM. Intraoral scanners produce STL files that capture tooth and gingival surfaces for surgical guide fitting.
Digital Imaging and Communications in Medicine — the universal file format for medical imaging. CBCT scanners produce DICOM files that are imported into planning software for 3D reconstruction.
A 3D imaging technique that captures the jaw, teeth, and bone structure in a single rotational scan. It produces DICOM files used for implant planning, nerve mapping, and surgical guide design.
Step 2: Anatomical Mapping
We segment what matters: bone volume, the inferior alveolar nerve, the sinus floor, adjacent roots. This is the stage where a case either confirms your plan or shows that it needs a different one, and it is better to learn that now.
Step 3: Prosthetic-Driven Placement
We place the implant where the restoration needs it, then test that position against the available bone. Where the two disagree, you see both options and choose, rather than receiving a plan that quietly picked one for you.
Step 4: Guide Engineering
The guide body is built to the support surface and the sleeve is specified for your line and diameter, with the seat sized so the sleeve sits flush and stays put. Fixation pins go clear of the implant trajectories, and inspection windows go where you need to confirm the guide is fully seated.
Step 5: Interactive Review
You receive the planning report — positions, angulation, depth, sleeve specification and pin positions, and the drill protocol the plan assumes, including whether it underprepares. Nothing is finalised until you approve it. Revisions before approval are included: ask for a different angulation or a different emergence profile and the price does not move.
Step 6: Delivery
You receive open STL files, printable on any SLA or DLP printer with your own resin, plus the surgical report. No proprietary format, no printer lock-in, no per-case licence.
The Manufacturer's Route vs. Independent Design
CAMLOG's own route is coherent and well documented: their planning partners export the implant geometry and the sleeve geometry together, their drills are colour-coded to the protocol, and their insertion posts are matched to the system. It works cleanly while every case in your practice is a CAMLOG case.
Independent design gives you one workflow regardless of what is on the tray. A CAMLOG case this week, a Straumann or Osstem case next week, all planned the same way, all delivered as open files you print yourself. The cost difference is real: manufacturer-linked planning services commonly sit in the €250–600 range per case.
What you give up is the tightest possible integration with one ecosystem. For guided placement, that integration matters less than getting the line and the sleeve right — which is a matter of stating them on the order, not of which software drew the guide.
Real Talk: When CAMLOG Guides Get Complicated
Mixed Lines in One Arch
The classic. PROGRESSIVE-LINE anteriorly for stability in softer bone, SCREW-LINE posteriorly where the bone is dense. Entirely reasonable clinically, and it means two different sleeve types inside one guide. That is fine — but the order has to list the line per site, not one system for the whole arch.
Underpreparation Decided in Theatre
If you find the bone softer than the CBCT suggested and switch to the reduced final drill on the day, the sleeve you are drilling through was specified for a different sequence. Depth may still be controlled, but the plan you approved no longer describes what happened. Tell us in advance where you might underprepare and we design for both.
The 5.0 Sleeve With No 5.0 Guided Implant
The sleeve catalogue and the guided implant range do not overlap perfectly. If your plan calls for a diameter outside the guided range, the honest answer is a pilot-only guide for that site rather than a fully guided one that promises more than the components can deliver.
Limited Interocclusal Space
Posterior cases in patients who cannot open widely are limited by the handpiece, not the anatomy. The guided drills are longer than the freehand ones, so the constraint arrives sooner than expected. Sometimes the answer is a shorter protocol rather than a thinner guide.
Pricing
| Case | Price per jaw | Turnaround |
|---|---|---|
| Tooth-supported, 1–2 implants | €80 | 48 h |
| Tooth-supported, 3–5 implants | €120 | 48 h |
| Tooth-supported, 6+ implants | €150 | 48 h |
| Tissue- or bone-supported | €150 | 48 h |
| With pre-extraction guide | €200 | 48 h |
| Stackable | €450 | 48 h |
Express 24-hour turnaround adds 30%. Prices are per jaw because the design work is per arch. The full list is in our European price breakdown, and if you are weighing this against planning in-house, the cost comparison works through the arithmetic.
Ready to streamline your surgical guide workflow?
Join 200+ dental professionals who trust SurgicalGuide.Pro for precision planning.