Want to learn more about surgical guide planning?
Discover how digital workflows can improve your implant success rates.
Table of Contents
- What Makes Dentium Different for Guide Design
- Dentium Implant Lines We Support
- SuperLine
- Implantium
- NR Line
- How We Design Guides for Dentium (Step by Step)
- Step 1: Upload and System Selection
- Step 2: Anatomical Mapping
- Step 3: Prosthetic-Driven Placement
- Step 4: Guide Engineering
- Step 5: Interactive Review
- Step 6: Delivery
- Dentium Guided Kit vs. Independent Design
- Real Talk: When Dentium Guides Get Complicated
- SuperLine in Soft Maxillary Bone with Immediate Loading
- NR Line on a Knife-Edge Ridge
- Mixed Dentium Systems in One Arch
- Limited Interocclusal Space
- Pricing
Dentium Surgical Guide: SuperLine, Implantium & NR Line Design
A surgical guide for a Dentium case costs €80 per jaw and takes 48 hours. But the number that decides whether the guide actually works is not the price — it is the sleeve offset your guided kit expects. Get that wrong and every implant in the case sits at the wrong depth. Here is how we design for Dentium, line by line, and what we need from you.
A 3D-printed template that fits over the patient's teeth or tissue and directs drill placement during implant surgery. It transfers the digital treatment plan into precise physical drill positions.
What Makes Dentium Different for Guide Design
Dentium is a Korean system with a wide installed base across Europe, and it presents one specific challenge in guided work: the range spans quite different implant geometries, from the aggressively tapered SuperLine to the parallel-walled Implantium, and the drill sequence differs between them.
That matters because a guide is not designed around an implant — it is designed around the drill protocol used to place that implant. Two implants of the same diameter from the same manufacturer can need different sleeve heights if their sequences differ.
The second consideration is the guided kit itself. Dentium supplies guided instrumentation, and practices also run universal kits. The sleeve specification follows the kit, not the implant, and it is the single detail most often left unstated on an order.
Dentium Implant Lines We Support
SuperLine
The tapered, wide-thread line, and the one we see most in guided full-arch work. Its taper gives good primary stability in softer maxillary bone, which is why it turns up in immediate-loading plans.
The mechanical resistance of an implant immediately after insertion. It is determined by bone density and implant design, and is critical for immediate loading protocols.
For guide design, the taper means the osteotomy is sequence-sensitive: the guide has to hold the drill on axis through the full depth, because a tapered implant will follow a deviated osteotomy rather than correct it.
Implantium
The older parallel-walled design, common in single-unit posterior cases. More forgiving in dense bone, and generally the simplest of the three to plan.
Parallel walls mean depth control is straightforward — the sleeve stop does the work. Where Implantium gets interesting is in cases with limited interocclusal space, where the guide body itself has to be thinned so the drill and handpiece can seat.
NR Line
The narrow-ridge line, used where a standard diameter will not fit. These are the cases where guided placement earns its keep: a narrow ridge leaves almost no margin for buccal perforation, and freehand placement in 3 mm of bone is an act of faith.
Narrow-diameter guided work needs the sleeve positioned precisely, and the guide needs solid support — which in practice usually means extending it onto adjacent teeth rather than relying on a short span.
How We Design Guides for Dentium (Step by Step)
Step 1: Upload and System Selection
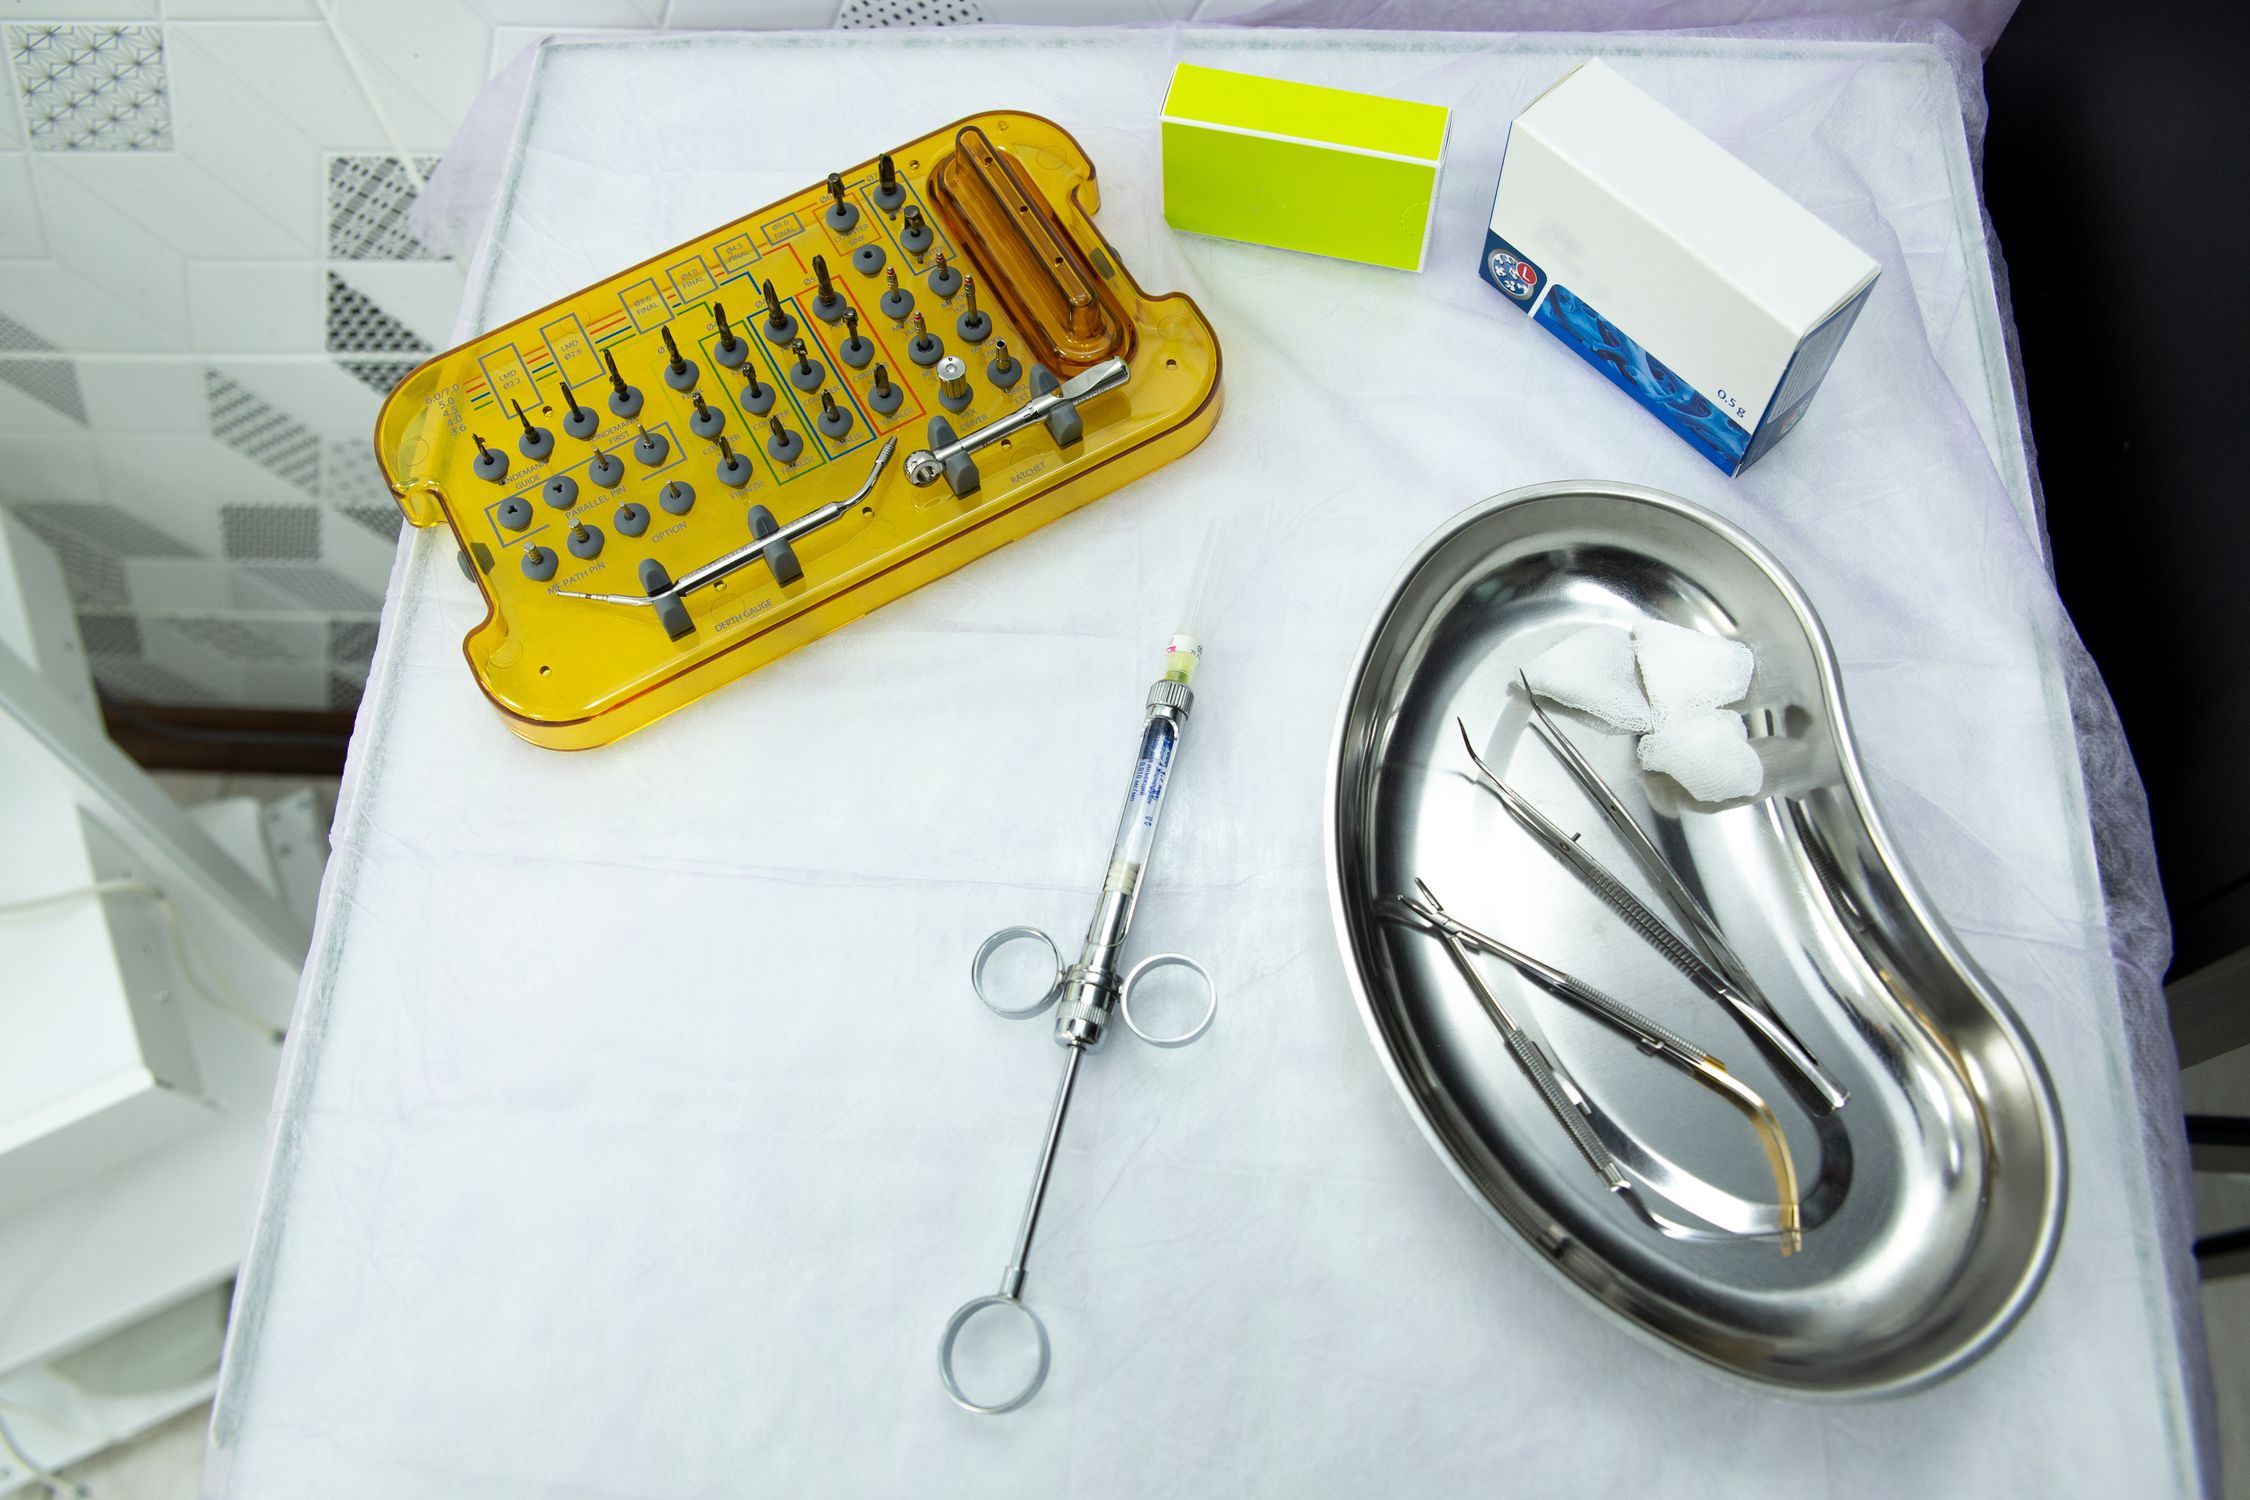
You upload the CBCT as a DICOM series and the intraoral scan as STL, PLY or OBJ, then tell us the implant line and the guided kit. If you are unsure of the kit version, photograph the tray — reading it from a photo is faster and more reliable than a description.
A 3D surface mesh file format used in dental CAD/CAM. Intraoral scanners produce STL files that capture tooth and gingival surfaces for surgical guide fitting.
Digital Imaging and Communications in Medicine — the universal file format for medical imaging. CBCT scanners produce DICOM files that are imported into planning software for 3D reconstruction.
A 3D imaging technique that captures the jaw, teeth, and bone structure in a single rotational scan. It produces DICOM files used for implant planning, nerve mapping, and surgical guide design.
Step 2: Anatomical Mapping
We segment the relevant anatomy: bone volume, the inferior alveolar nerve, the sinus floor, adjacent roots. This is where a case either proves straightforward or turns out to need a different plan than the one you had in mind, and it is better to know at this stage.
Step 3: Prosthetic-Driven Placement
We place the implant where the restoration needs it, then check that position against the bone. When the two disagree — and on narrow ridges they often do — you see both options and decide, rather than receiving a plan that quietly favoured one.
Step 4: Guide Engineering
The guide body is built around the support surface, the sleeve is specified for your Dentium kit, and fixation pin positions are set where they will not collide with implant sites. Inspection windows go in where you need to verify seating.
Step 5: Interactive Review
You receive the planning report: implant positions, angulation, depth, sleeve specification, pin positions. Nothing is finalised until you approve it, and revisions before approval are included. Ask for a different angulation or a different emergence and the price does not move.
Step 6: Delivery
You receive open STL files, printable on any SLA or DLP printer with your own resin, plus the surgical report. No proprietary format, no printer lock-in, no licence.
Dentium Guided Kit vs. Independent Design
Manufacturer-linked planning services tie you to one ecosystem: their software, their sleeves, sometimes their printing. That works while every case in your practice uses that system, and stops working the moment one does not.
Independent design means the same workflow regardless of what is on the tray. A Dentium case this week, a Straumann case next week, both planned the same way, both delivered as open files you print yourself. The cost difference is real too — manufacturer-linked services commonly sit in the €250–600 range per case.
What you give up is the tightest possible integration with one software ecosystem. In practice, for guided placement, that integration matters less than getting the sleeve offset right.
Real Talk: When Dentium Guides Get Complicated
SuperLine in Soft Maxillary Bone with Immediate Loading
The taper that gives primary stability also punishes a deviated osteotomy. When the plan calls for immediate loading, the guide has to be rigidly seated — which usually means fixation pins even in a partially dentate arch, not tooth support alone.
NR Line on a Knife-Edge Ridge
A 3 mm ridge with a narrow implant leaves almost nothing between the drill and the buccal plate. These cases need the guide extended for support and, frequently, an honest decision about whether guided placement is appropriate at all versus a flap and direct vision.
Mixed Dentium Systems in One Arch
Full-arch cases sometimes mix lines — SuperLine anteriorly, something narrower where the ridge thins. Each needs its own sleeve specification within the same guide, which is fine, but the order needs to say so rather than name one system for the whole arch.
Limited Interocclusal Space
Posterior cases in patients who cannot open widely are constrained not by the anatomy but by the handpiece. The guide body has to be thin enough for the drill to seat fully, and sometimes the answer is a shorter drill protocol rather than a thinner guide.
Pricing
| Case | Price per jaw | Turnaround |
|---|---|---|
| Tooth-supported, 1–2 implants | €80 | 48 h |
| Tooth-supported, 3–5 implants | €120 | 48 h |
| Tooth-supported, 6+ implants | €150 | 48 h |
| Tissue- or bone-supported | €150 | 48 h |
| With pre-extraction guide | €200 | 48 h |
| Stackable | €450 | 48 h |
Express 24-hour turnaround adds 30%. Prices are per jaw because the design work is per arch. The full list is in our European price breakdown, and if you are weighing this against printing in-house, the cost comparison works through the arithmetic.
Ready to streamline your surgical guide workflow?
Join 200+ dental professionals who trust SurgicalGuide.Pro for precision planning.