Want to learn more about surgical guide planning?
Discover how digital workflows can improve your implant success rates.
Table of Contents
I placed my first couple hundred implants entirely freehand. Like many practitioners, I was confident in my hand-eye coordination. But eventually, I stopped using a freehand approach for the vast majority of my cases. Here is the honest truth about why I switched—and what the clinical evidence actually says.
The Honest Truth About Freehand
There is no need to demonize freehand surgery. When it works, it works fine. If you are an experienced surgeon placing a single posterior implant in a wide ridge with plenty of attached gingiva, freehand is perfectly acceptable. The tactile feedback is immediate, and you don't have to wait 2-3 days for a lab to print something.
But the keyword there is experienced. And even then, there is a limit to our visual estimation.
Where Freehand Consistently Fails
The failure points of freehand surgery become glaringly obvious when the anatomy gets tough:
- The Anterior Zone: This is where an aesthetic risk becomes a malpractice risk. Being off by 15 degrees in an anterior site often means the emergence profile exits through the facial, ruining the final restoration.
- Narrow Ridges: Freehand drilling in a 4mm ridge requires perfection. A slight wobble will blow out the buccal plate.
- Multiple Parallel Implants: Trying to parallel four implants by eye for an overdenture is incredibly stressful and often relies on luck.
Check out our risk-free implant planning services.
What the Literature Says About Deviation
The evidence is overwhelming. When we look at meta-analyses comparing angular deviation between the two methods:
- Freehand surgery typically has an angular error range of 5° to 8°, and apical deviation of 1.5mm to 2.5mm.
- Guided surgery, using a tooth-supported guide, reduces angular error to 1° to 3°, and apical deviation to under 1.0mm.
For a 10mm or 13mm implant, a 5-degree error at the crest effectively multiplies into a 2mm deviation at the apex, which can easily put you inside the inferior alveolar nerve canal or the adjacent tooth root.
The minimum safe distance between an implant and the inferior alveolar nerve, typically 2mm. Violating this margin during surgery can cause permanent numbness of the lip and chin.
The Hidden Cost of "Saving" on a Guide
The main argument against guided surgery is cost. "Why pay for a guide when I can do it for free?"
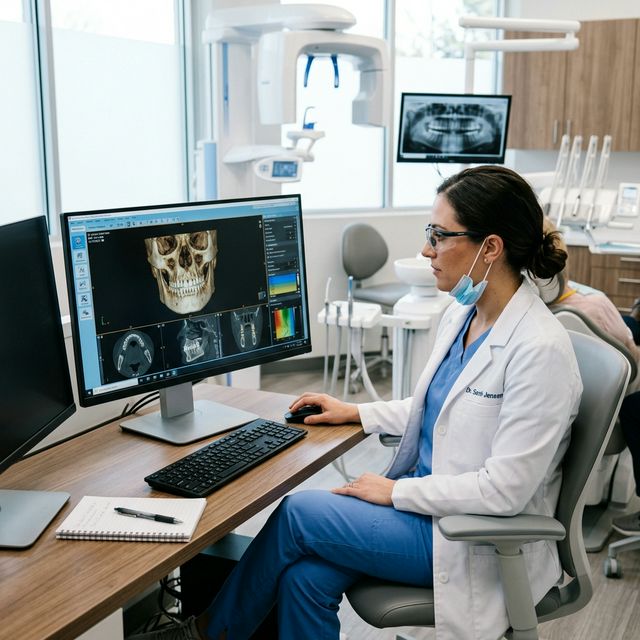
An implant placement technique that uses a physical surgical guide to direct drills and implants to positions planned in 3D software. It improves accuracy and reduces surgical risks compared to freehand placement.
It is not about the guide price. A professionally designed tooth-supported guide starting at $80 is incredibly cheap insurance. The true hidden cost is the price of one misplaced implant: revision surgery, free replacement parts, destroyed patient trust, and potential legal exposure.
When I Still Go Freehand
I'm practical. I will still place freehand if I have a wide single posterior site (like a healed mandibular molar) and the patient cannot open wide enough to accommodate the extra vertical height of a guided surgery drill cylinder. But for anything complex, guided surgery is non-negotiable.
Ready to streamline your surgical guide workflow?
Join 200+ dental professionals who trust SurgicalGuide.Pro for precision planning.