Want to learn more about surgical guide planning?
Discover how digital workflows can improve your implant success rates.
Table of Contents
A surgical guide that doesn't fit is worse than no guide at all. It gives you false confidence in a plan that won't execute correctly. Verification before surgery isn't optional — it's the most critical step between receiving your STL files and making the first osteotomy.
The surgical preparation of bone to receive a dental implant. Sequential drills of increasing diameter create a precisely sized channel for implant insertion.
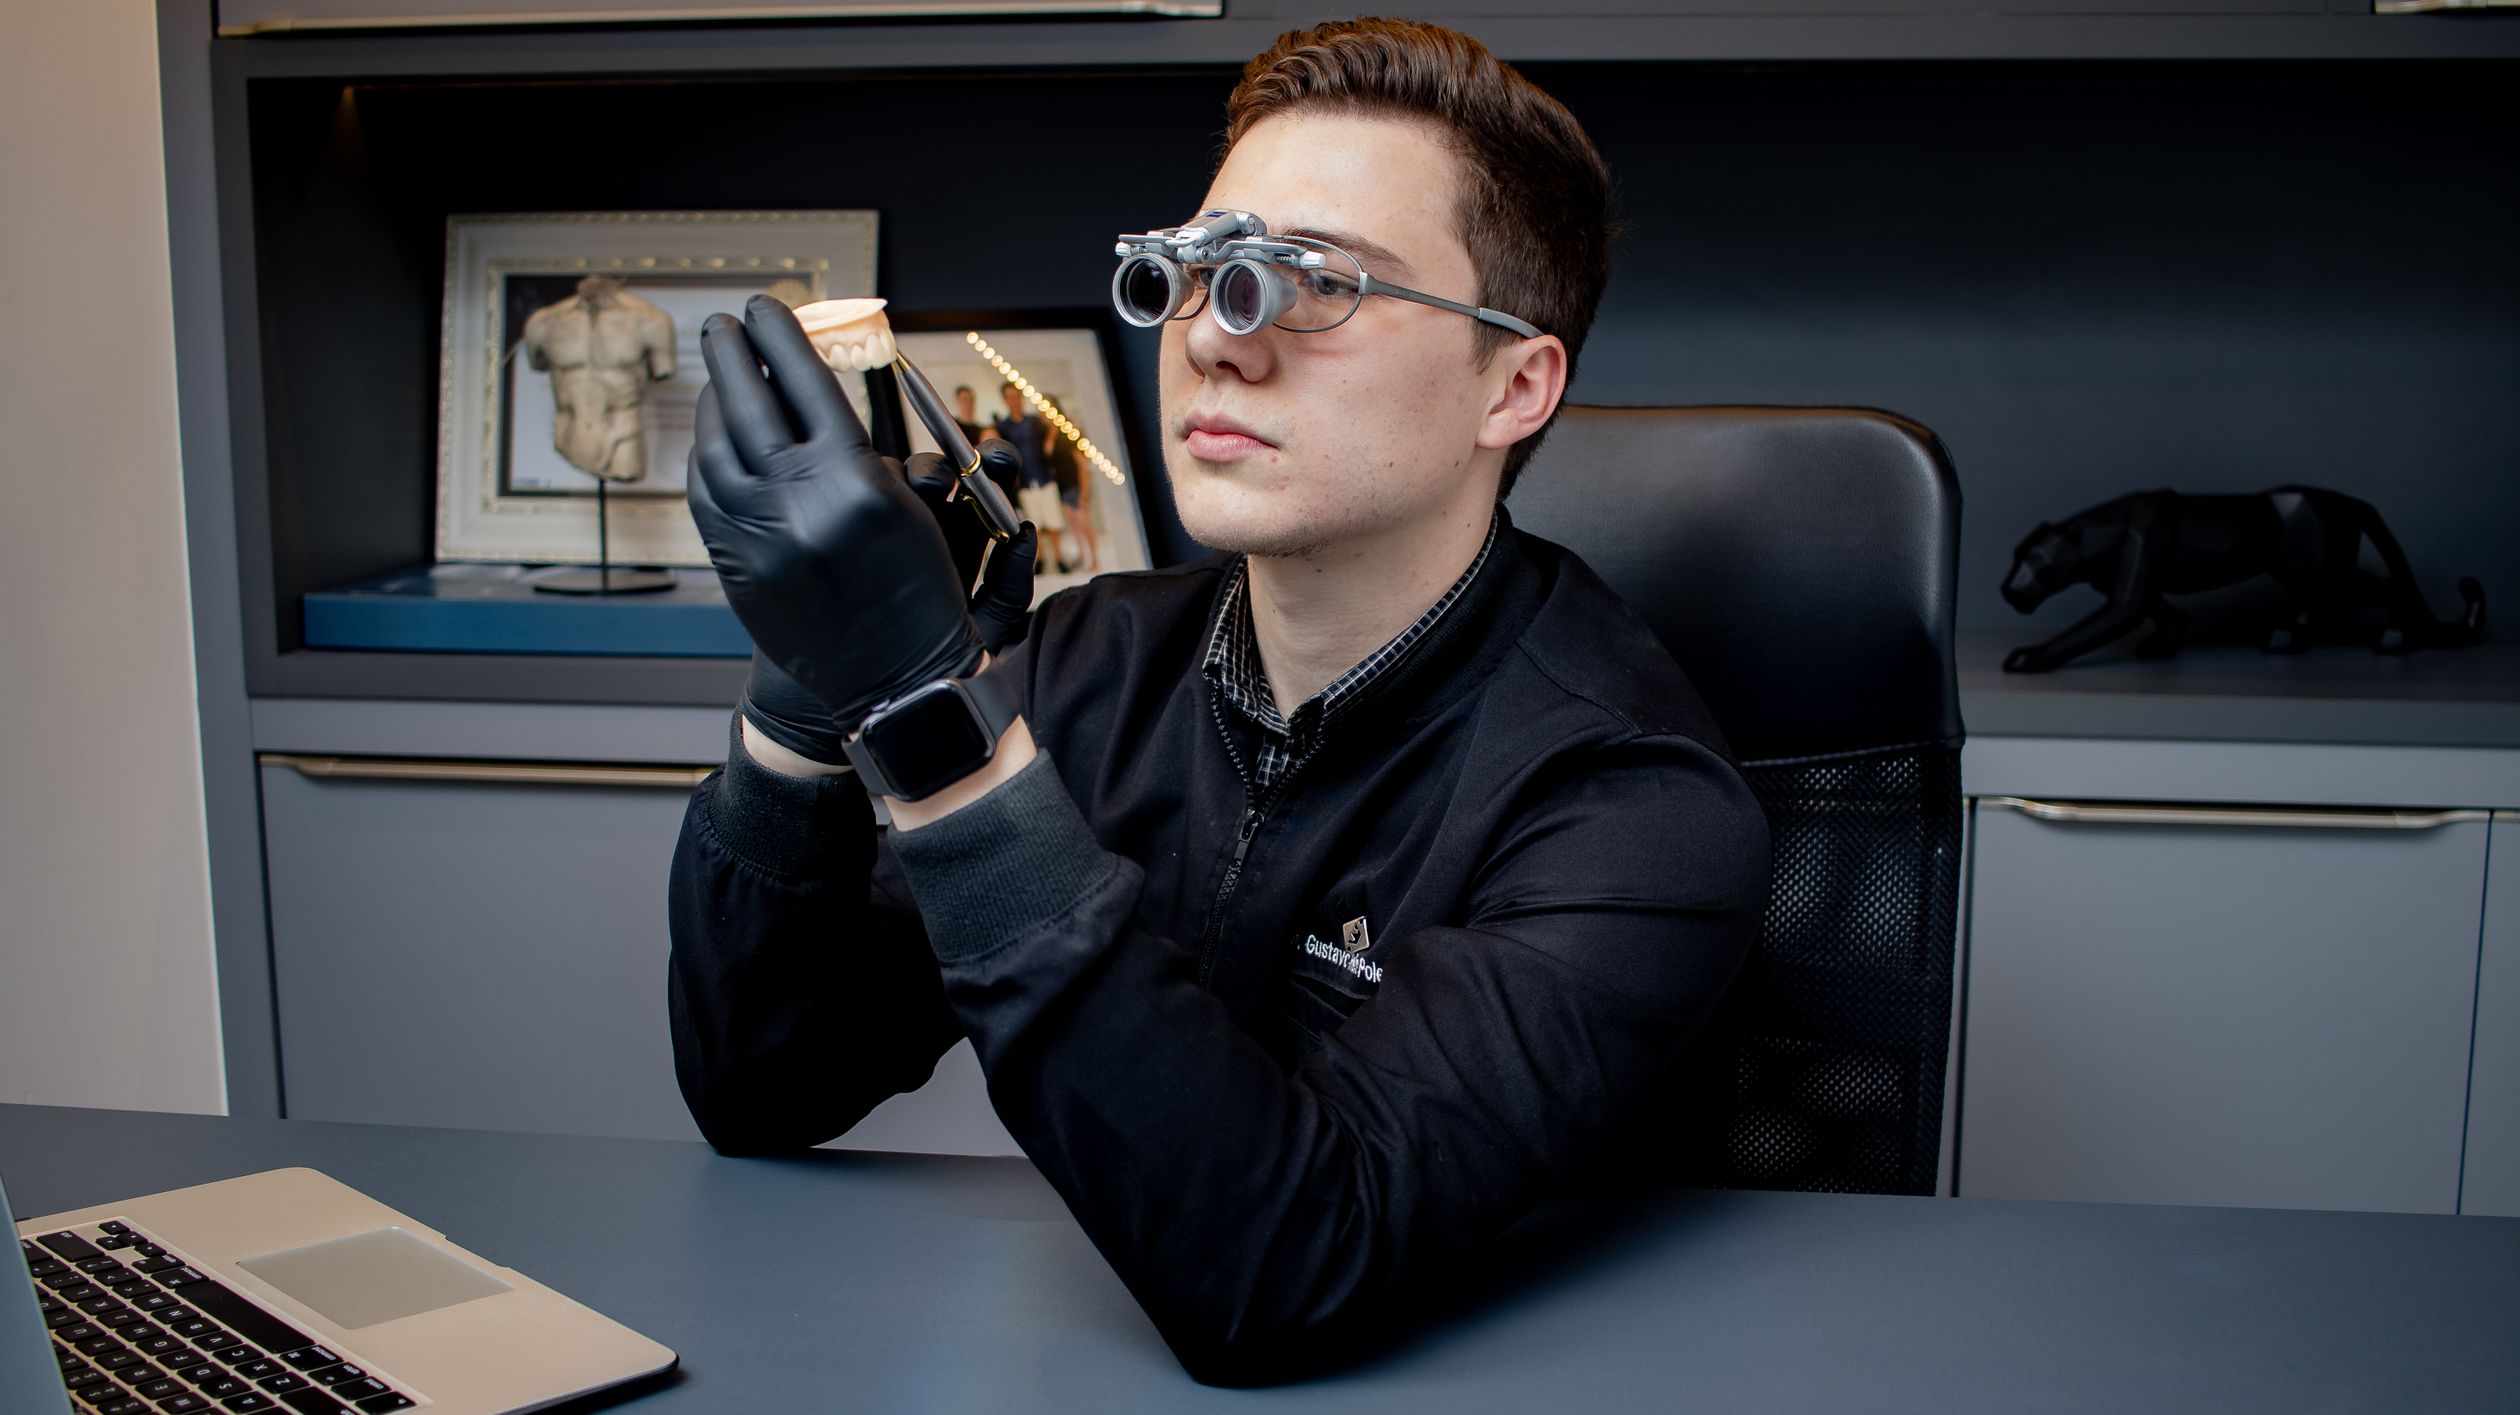
A 3D-printed template that fits over the patient's teeth or tissue and directs drill placement during implant surgery. It transfers the digital treatment plan into precise physical drill positions.
A 3D surface mesh file format used in dental CAD/CAM. Intraoral scanners produce STL files that capture tooth and gingival surfaces for surgical guide fitting.
The 6-Point Verification Checklist
Before printing your final guide, verify these elements on the 3D review:
1. Implant Position vs. Prosthetic Goal
Does the planned implant position actually support the intended restoration? Check:
- Emergence profile — does the screw access come through the correct area?
- Inter-implant distance — minimum 3mm between fixtures for papilla formation
- Bone margins — at least 1.5mm of buccal bone remaining after placement
- Depth — implant platform 2-3mm below the alveolar crest for aesthetic cases
2. Anatomical Safety Margins
| Structure | Minimum Safe Distance |
|---|---|
| Inferior alveolar nerve (IAN) | 2.0mm |
| Mental foramen | 2.0mm anterior |
| Maxillary sinus floor | 1.0mm (unless sinus lift planned) |
| Adjacent tooth roots | 1.5mm |
| Nasopalatine canal | 2.0mm |
If any measurement is borderline, request a revised plan. Safety margins are non-negotiable.
3. Passive Fit on the Study Model
After printing, try the guide on a dental model (3D printed from the STL scan):
- Guide should seat completely without forcing
- No rocking or lifting on any side
- Consistent contact across all tooth surfaces
- Inspection windows should align with reference landmarks
4. Sleeve Verification
Check each metal sleeve before surgery:
- Sleeve diameter matches the required drill size for your implant system
- Sleeve height is correct for depth control
- Sleeve is firmly seated — no rotation or looseness in the guide body
- Correct number of sleeves — one per drill position
Planning your first guided case? Start with a review and verify everything before committing.
5. Drill Sequence Validation
Before surgery, run through the complete drill sequence with the guide on the model:
- Pilot drill passes cleanly through the sleeve
- Each sequential drill fits the corresponding sleeve
- Final drill achieves planned depth (check depth markings)
- No interference between the guide body and the drill handpiece
6. CBCT Overlay (Post-Print Verification)
For critical cases, you can image the guide seated on the patient (low-dose CBCT) and compare the actual guide position to the planned position. This is the gold standard for verification but adds radiation exposure and cost — reserve for complex multi-implant cases.
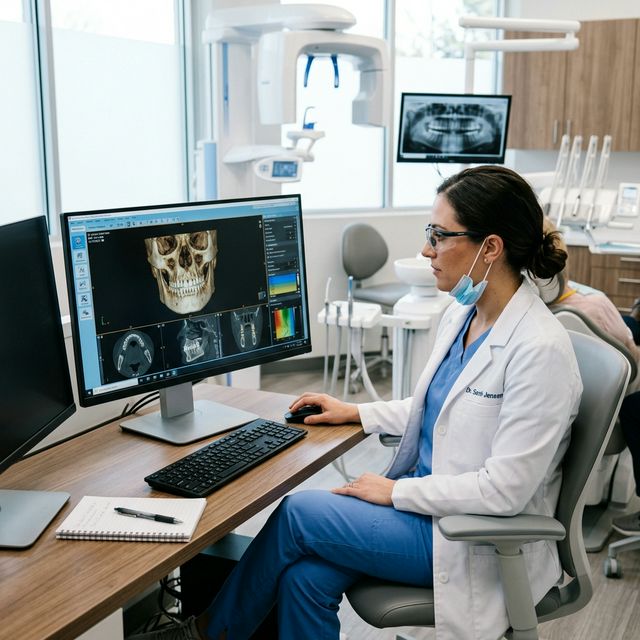
A 3D imaging technique that captures the jaw, teeth, and bone structure in a single rotational scan. It produces DICOM files used for implant planning, nerve mapping, and surgical guide design.
---
Every guide we design includes a 3D review link. Verify the plan before you print.
Start Your Verified Case on SurgicalGuide.pro
FAQ
How do I check if a surgical guide fits correctly?
Test on a study model first. The guide should seat passively without rocking. All sleeves should be accessible without handpiece interference. Check reference landmarks through inspection windows.
What accuracy should I expect from a surgical guide?
Fully guided systems achieve mean angular deviation of 2.0-3.5° and platform offset of 0.5-1.2mm. These are within clinically acceptable margins.
Can I verify the guide on the patient before surgery?
Yes. Have the patient try the guide before the procedure. Check for passive seating, patient comfort, and adequate mouth opening for drilling access.
What if the guide doesn't seat properly?
Do not proceed. Common causes: incomplete intraoral scan, patient dental changes since scan, print distortion. Order a rescan and re-design ($0 — revisions are free).
Should I 3D-print the guide in my office or use a lab?
Both work. In-office printing gives you faster verification cycles. Lab printing may offer higher accuracy for critical cases. At $80 per design, you can iterate affordably.
How do I verify sleeve dimensions?
Use a calibrated caliper to measure each sleeve's inner diameter. Compare against the drill manufacturer's specifications for your implant system.
Is a verification CBCT necessary?
For single implants in safe zones, usually not. For full-arch, near-nerve, or zygomatic cases, verification imaging adds a significant safety margin.
What printer accuracy is needed for surgical guides?
Minimum 50-micron (0.05mm) layer thickness. Most dental-grade SLA/DLP printers meet this. FDM printers are not suitable for surgical guides.
How long should I wait between printing and surgery?
Print-ready guides should be used within 2-4 weeks. Post-cure dimensional changes are minimal but can accumulate over months.
What if the patient had dental work done since the scan?
The guide may not fit. Even a small filling can change tooth morphology enough to prevent seating. Rescan after any dental work in the quadrant.
Ready to streamline your surgical guide workflow?
Join 200+ dental professionals who trust SurgicalGuide.Pro for precision planning.